Review of the new IceRiver Alephium AL0 Miner with setup tutorial
Today I received my IceRiver AL0 Alephium Miner from millionminer. The miner was once again made available to me free of charge, which is why I’m including some advertising for millionminer here.
What is Alephium anyway?
Alephium is a new blockchain platform that combines scalability, security and decentralization in a new way. As the first functional sharding blockchain, Alephium builds on Bitcoin’s proven technologies and enhances them with advanced features for higher performance and energy efficiency. The BlockFlow algorithm enables an impressive processing of over 10,000 transactions per second and the Proof-of-Less-Work (PoLW) consensus model reduces energy consumption by 87% compared to traditional blockchains. By combining the UTXO model with programmable smart contracts, Alephium is ideally suited for dApps and DeFi solutions.
IceRiver AL0 Miner Tutorial
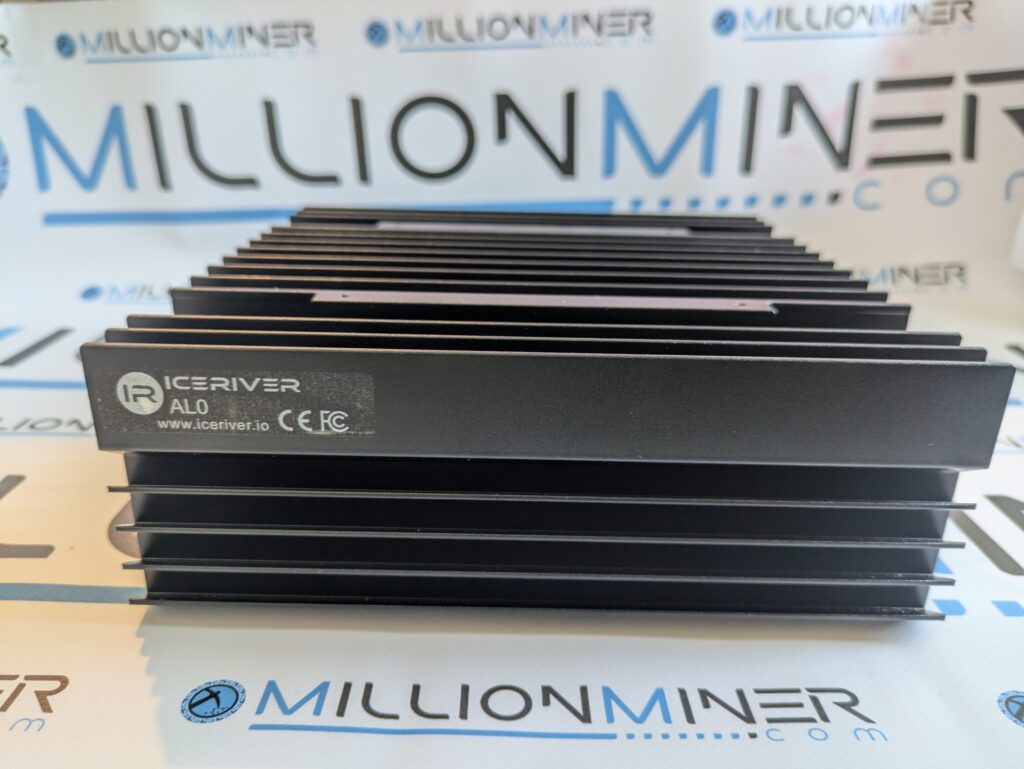
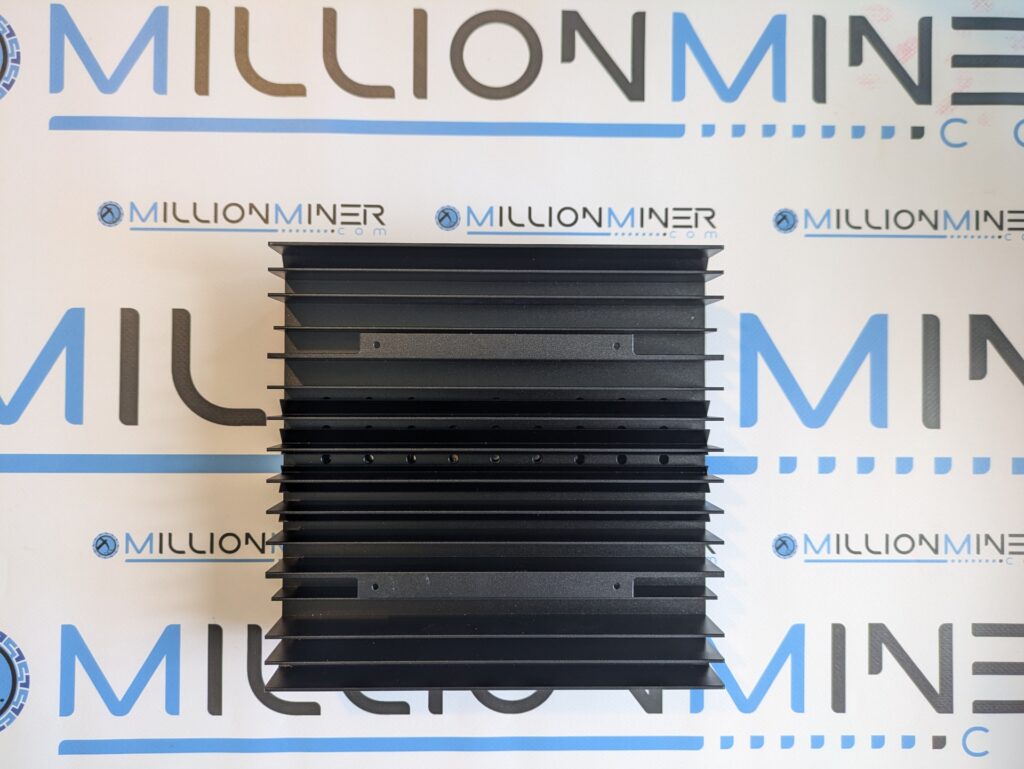
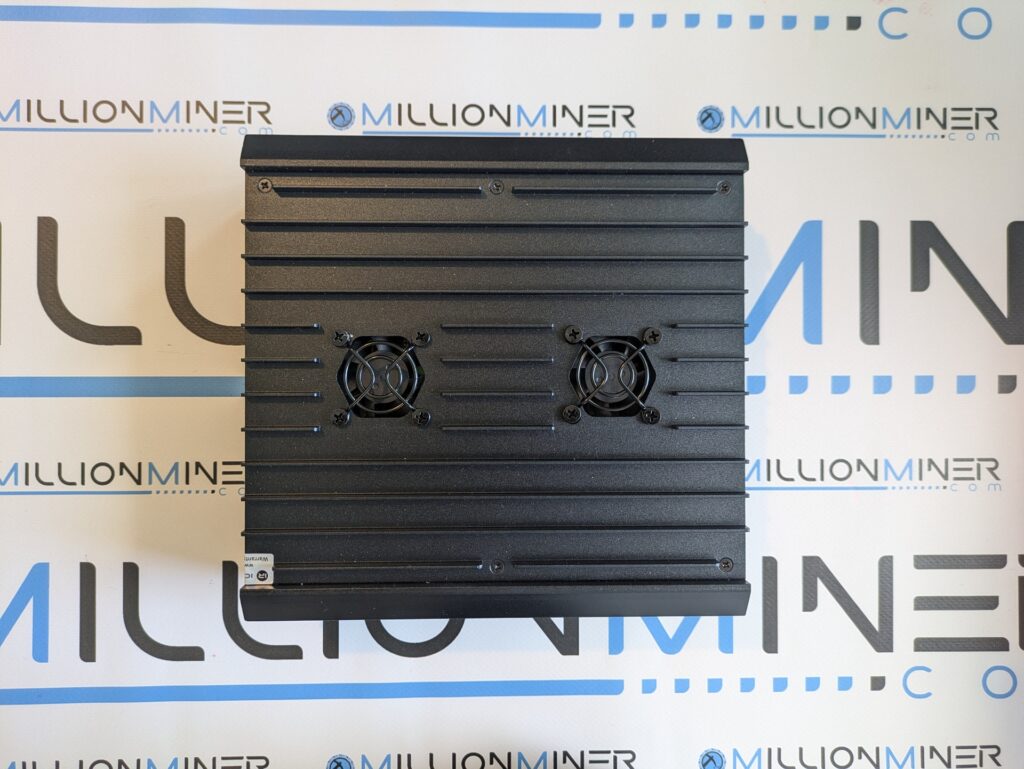
Like the previous models for Kaspa, the Alephium AL0 Miner from IceRiver is the perfect home miner. The housing itself is a huge passive heat sink, which also allows additional fans to be attached.
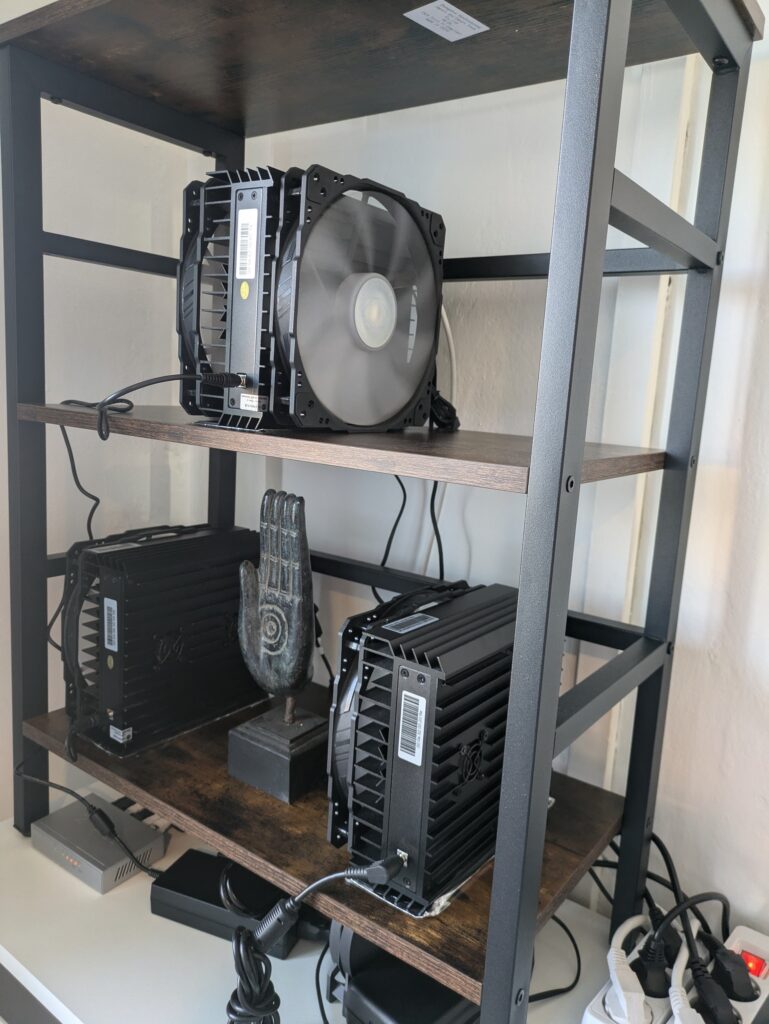
I personally take advantage of this to put very large 200 mm fans on the side and reduce the speed of the internal fans, which makes the miners in my office almost inaudible.
Next, I will introduce the Alephium AL0 miner in more detail, set up an Alephium wallet and then set up the miner too.
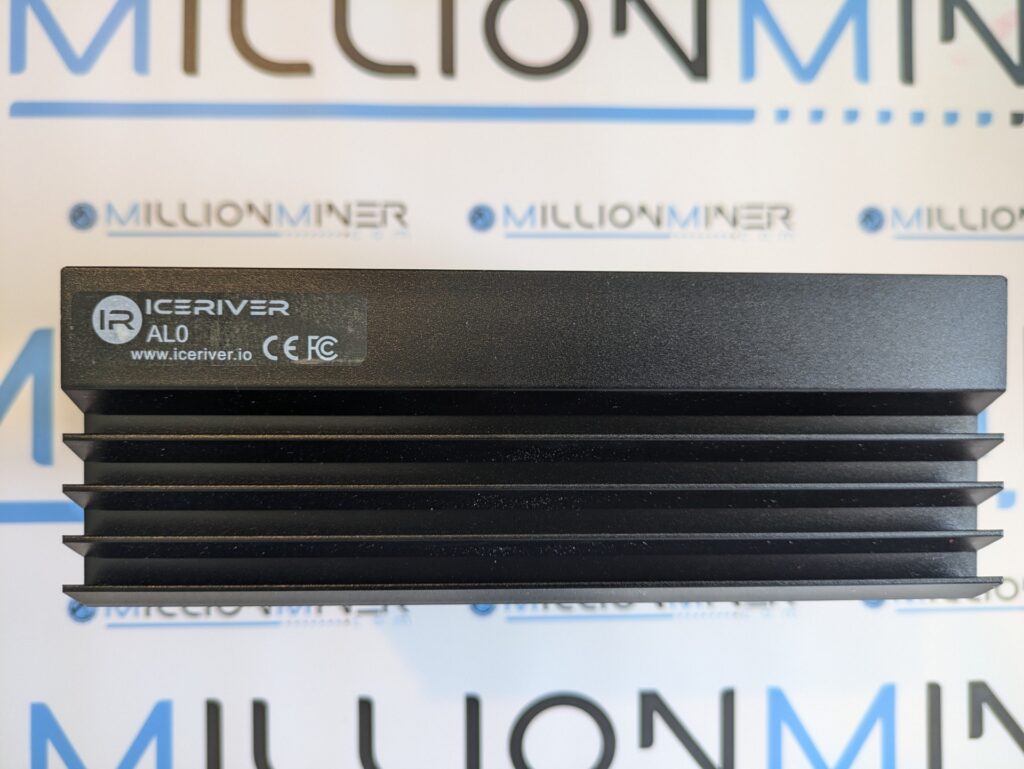
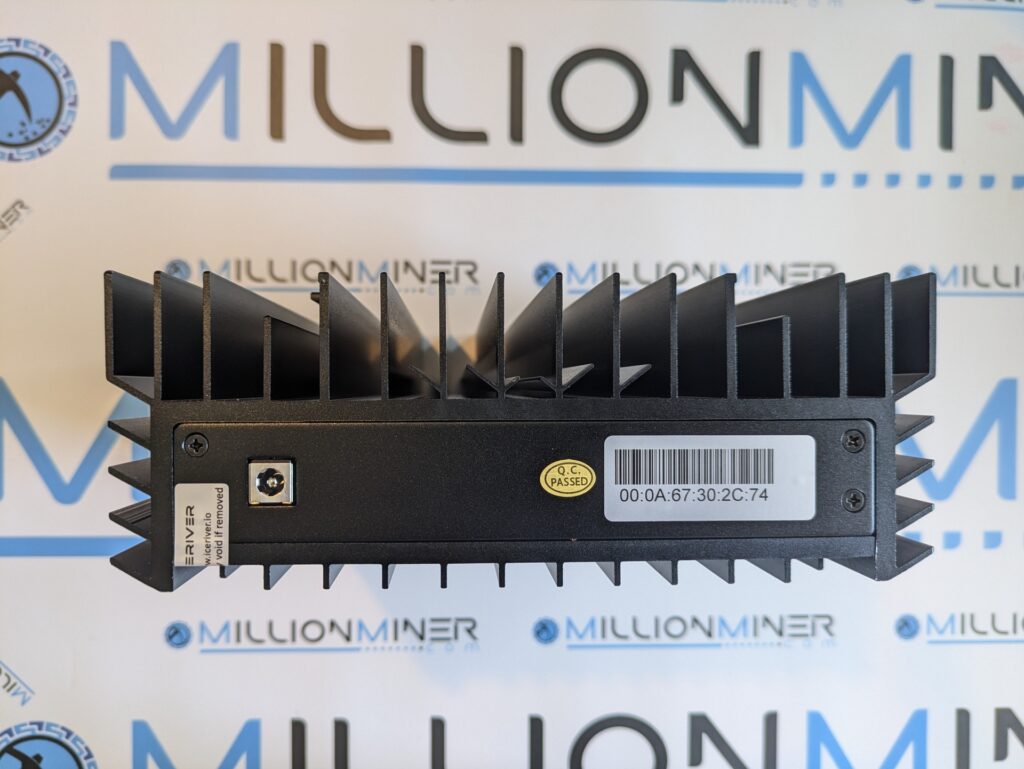
The IceRiver AL0 Miner has a hash rate of 400 GH/s with a moderate power consumption of 100 watts.
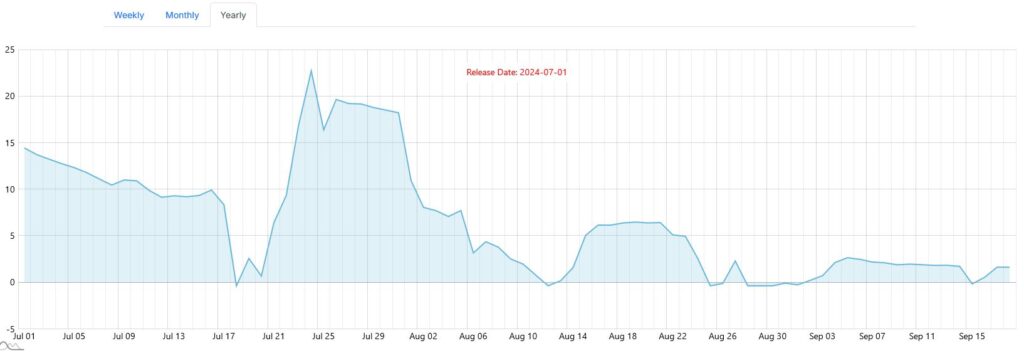
According to ASIC-Miner-Profitability.com, even with a power consumption of EUR 0.18 per day, my earnings are still a good EUR 1.54 per day.
However, much higher profits have already been generated in the past, as can be seen from this graph:
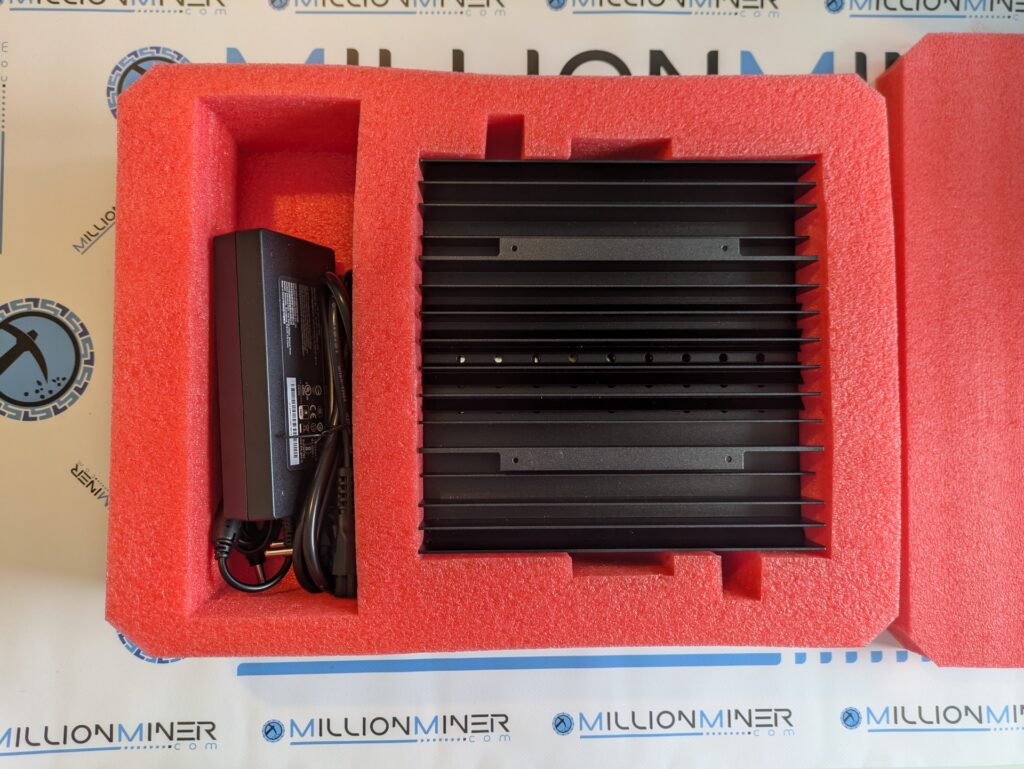
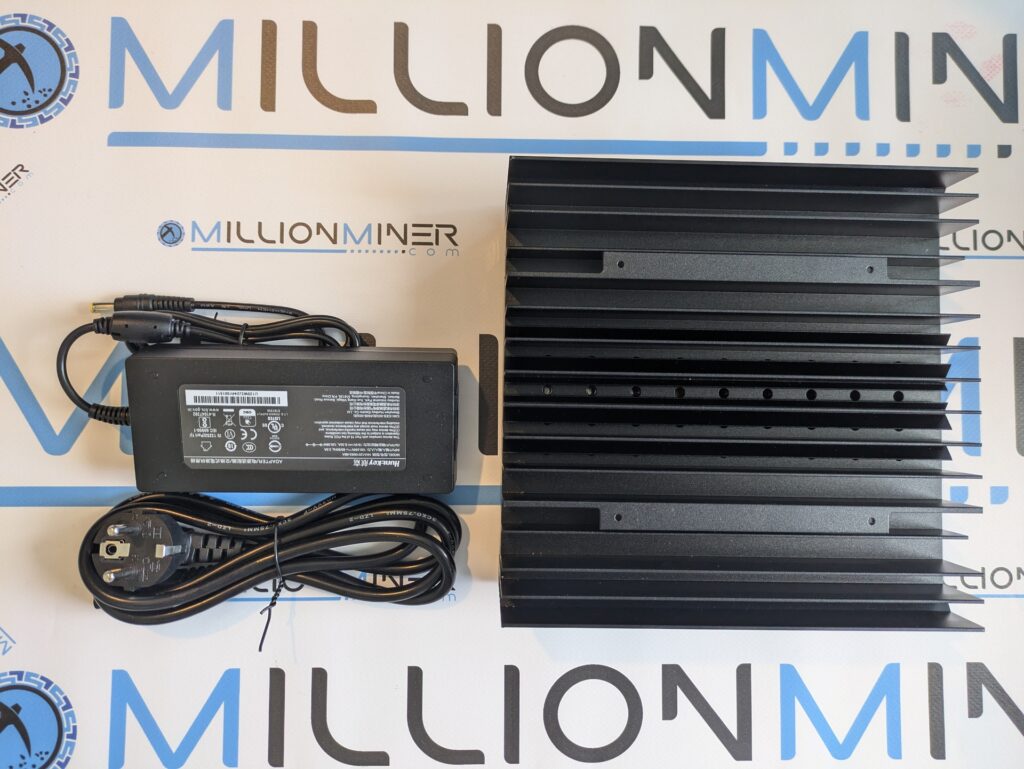
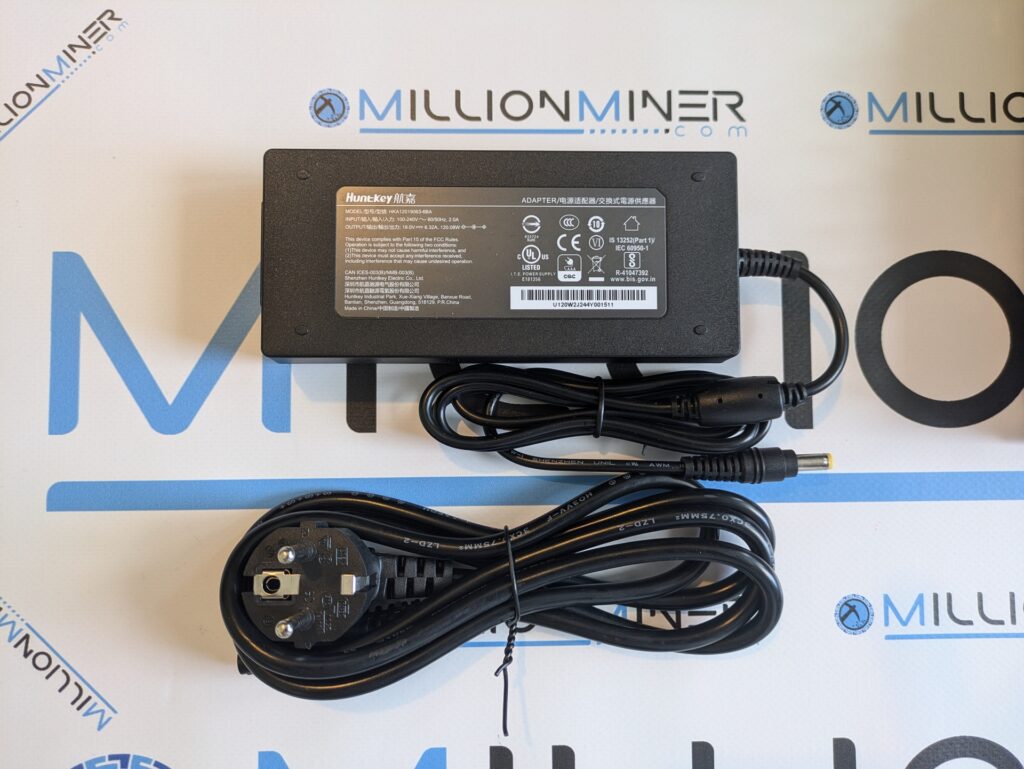
The AL0 is currently available cheaply at MILLIONMINER, where it is of course also supplied with a suitable power supply unit.
When it came to choosing the right wallet for Alephium, I came to a bit of a standstill and ultimately decided on the Wallet extension for Firefox.
Firefox:
https://addons.mozilla.org/en-US/firefox/addon/alephiumextensionwallet/
Chrome:
https://chrome.google.com/webstore/detail/alephium-extension-wallet/gdokollfhmnbfckbobkdbakhilldkhcj
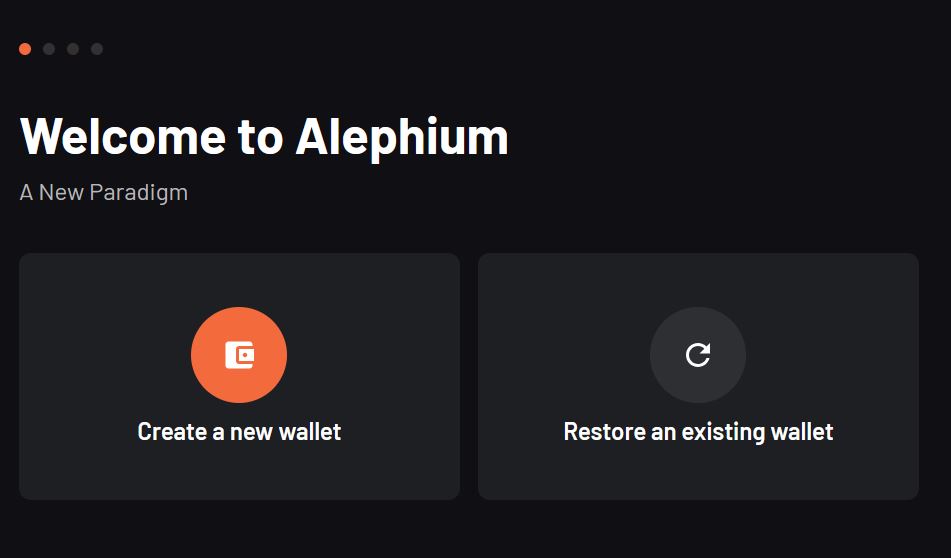

After installation, we can start creating a new wallet straight away and set a password in the next step.


A private key has already been generated automatically.


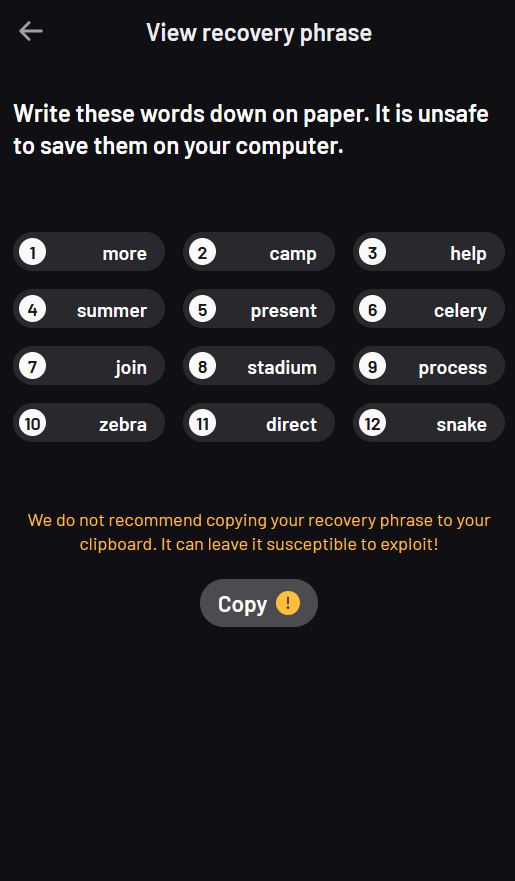
We should therefore still save the recovery phrase – i.e. our seed.
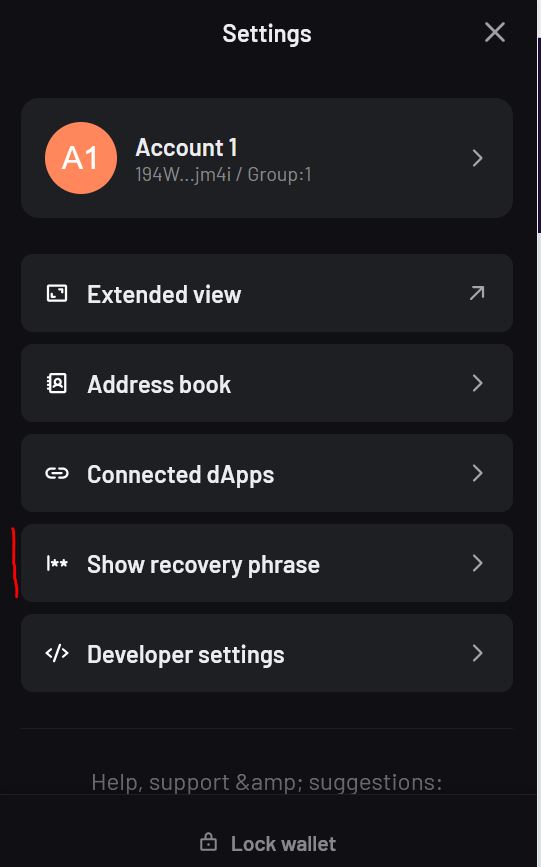

You should keep the words displayed very safe!

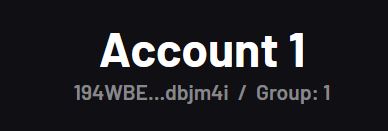
The wallet address itself can be easily copied by clicking
here
194WBEhDETmUMDVikvKQcns1jvkrwCdRQiYqizwdbjm4i

Now we have a wallet and an Alephium address. Next we need to find a suitable pool. I have decided on alephium-pool.com for the time being. The settings in our example would be as follows:
Server:
eu1.alephium-pool.com:20032
us1.alephium-pool.com:20032
asia1.alephium-pool.com:20032
Miner Name:
194WBEhDETmUMDVikvKQcns1jvkrwCdRQiYqizwdbjm4i.ks0
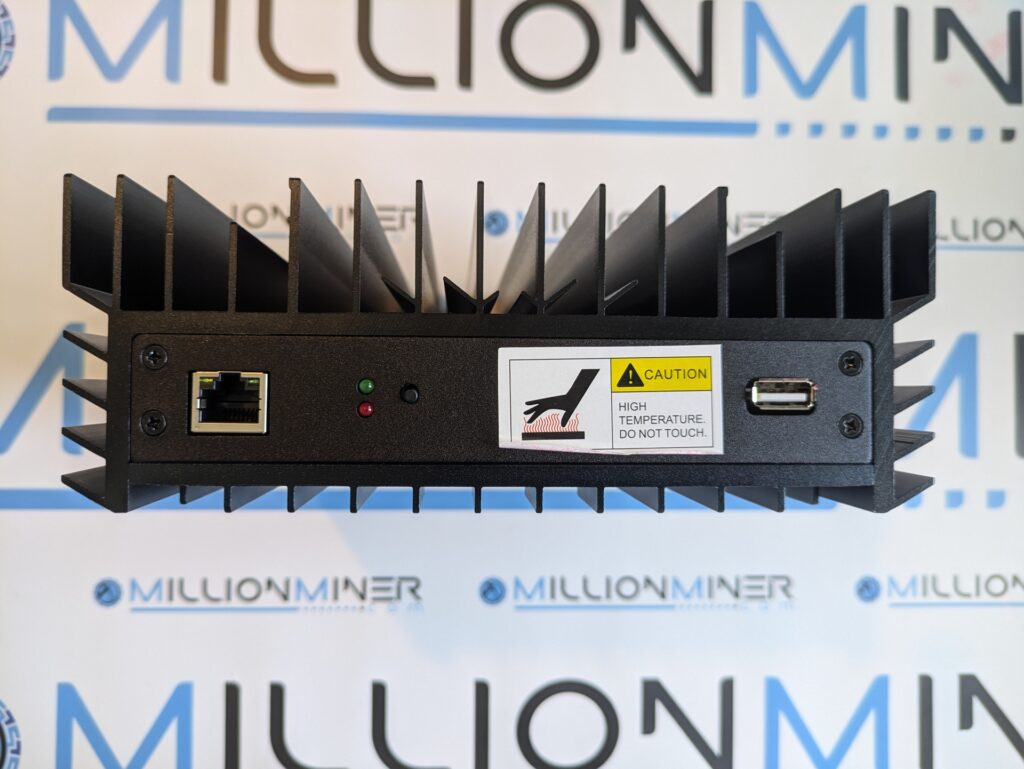
Next, we find the IP of the miner via the router. To set up an Alephium miner, you must first connect it to your network and switch it on. Your router will then automatically assign an IP address to the miner. You need to find out this IP address in order to configure the miner. There are two ways to do this: You can either log into your router’s interface or search the network for new devices.
To find out the IP address of your router under Windows, open the “Network and Internet settings”. There you will see your active connection, either via Ethernet or WLAN. Click on “Properties” and you will be shown the IPv4 address of your computer. This typically consists of four blocks of numbers separated by dots, for example 192.168.178.157. The first three blocks of numbers represent the subnet. To derive the IP address of your router, simply replace the last number (here 157) with a “1”. The IP address of the router is then 192.168.178.1. Enter this address in the address bar of your web browser. In the router menu, you will usually find an overview of all devices in the network, including the assigned IP addresses.
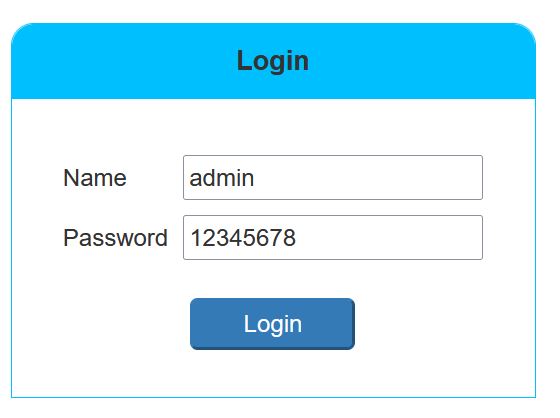
As soon as the IP address has been determined, the miner can be opened by entering the IP in the browser.
If you have problems, you should simply remove the “s” from https://. The default login is admin:12345678

We then enter under Mining Settings:
stratum tcp://eu1.alephium-pool.com:20032
stratum tcp://us1.alephium-pool.com:20032
stratum tcp://asia1.alephium-pool.com:20032
For the wallet, we enter Wallet.device.name everywhere, such as here:
194WBEhDETmUMDVikvKQcns1jvkrwCdRQiYqizwdbjm4i.al0The password does not matter.
Then we press Save.
After about 15 minutes, we can check whether everything has worked under
https://alephium-pool.com/stats.html to check.
The miner is now set up and ready to use. Finally, a few photos of the AL0: